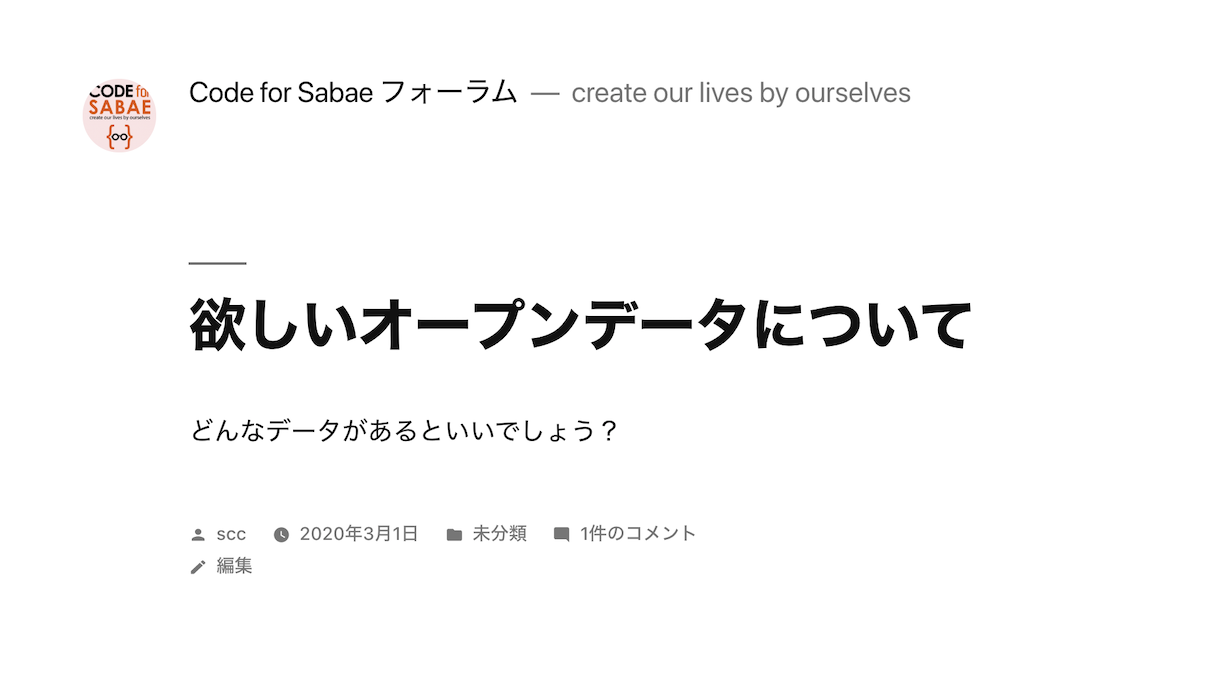
「Code for Sabae フォーラム」
まずは欲しいオープンデータに関して、オープンに議論してみましょう。

「Code for Sabae」
Code for Sabae の新サイト。SSL対応です!
![]()
WordPressのアイコン用にと用意した、Code for Sabae 正方形ロゴ。
ロゴデータも CC BY のオープンデータです。ご自由に活用くださいっ。

人気のwebサイト管理ツール「WordPress」を CentOS8, nginx で動かし、Let's Encrypt でSSL化して運用するまでの手順はこちら。
ConoHa、まずはSSLキーを作成し秘密鍵をダウンロード(pemファイル)、キーを設定してサーバー追加、一番安い620円/月でもOKです。CentOS 8.1(64bit)を選んで、起動し、ログイン、下記で設定していきます。
ssh -i ??.pem root@??.??.??.?? # login localectl set-locale LANG=ja_JP.utf8 timedatectl set-timezone Asia/Tokyo yum update -y # OS update firewall-cmd --add-service=http --zone=public --permanent firewall-cmd --add-service=https --zone=public --permanent firewall-cmd --reload yum install nginx systemctl enable nginx systemctl start nginx
ここで http://??.??.??.?? を開けば、アクセスできます!
持っているドメインをこのIPアドレスで設定して、反映されるまで待ち、nginxの設定ファイル編集(vi /etc/nginx/nginx.conf)の http { } 内に下記を追加(ドメイン名 forum.sabae.cc は設定したいものに変更ください)
server { listen 80; server_name forum.sabae.cc; }
Let's EncryptでSSLキーを設定
wget https://dl.eff.org/certbot-auto chmod a+x certbot-auto ./certbot-auto
SSL設定したいドメインを選び、メールアドレスを設定、リダイレクト設定はしておくのがオススメです。届いたメールを確認して、nginxの設定を反映。
nginx -s reload
ここで https://forum.sabae.cc とSSLで開けるようになります!
続いて、いよいよWordPressのインストール。まずは必要なPHPのMariaDBのインストールから
# php yum install -y @php:7.3/common dnf install php-pdo php-json php-xml php-mysqlnd php-gd php-mbstring php -v systemctl start php-fpm systemctl enable php-fpm systemctl stop php-fpm # step # mariaDB yum install mariadb mariadb-server systemctl start mariadb systemctl enable mariadb mysql_secure_installation
mysqlのrootのパスワードを設定し、下記でmysqlにログインしユーザー wordpress とパスワード ????? を何か設定。CentOS上のユーザーとしても wordpress を追加
mysql -u root -p create database wordpress1; create user wordpress; GRANT ALL PRIVILEGES ON wordpress1.* TO "wordpress"@"localhost" IDENTIFIED BY "????????"; flush privileges; quit adduser wordpress chmod 755 /home/wordpress cd /home/wordpress curl -O https://ja.wordpress.org/latest-ja.tar.gz tar xzfv latest-ja.tar.gz chown -R nginx:nginx wordpress chmod -R 777 wordpress
nginxの設定を変更して、PHPが動くようにします(vi /etc/nginx/nginx.conf)の 設定するドメイン(例ではforum.sabae.cc)で listen 443 が中に記述してある server { } 内に下記を追加
root /home/scc/wordpress; location ~ \.php$ { fastcgi_pass unix:/run/php-fpm/www.sock; fastcgi_index index.php; fastcgi_param SCRIPT_FILENAME $document_root/$fastcgi_script_name; include fastcgi_params; } location / { try_files $uri $uri/ @wordpress; } location @wordpress { fastcgi_index index.php; fastcgi_split_path_info ^(.+\.php)(.*)$; fastcgi_pass unix:/run/php-fpm/www.sock; fastcgi_param SCRIPT_FILENAME $document_root/index.php; include fastcgi_params; } include /etc/nginx/default.d/*.conf;
nginxをリロード
nginx -s reload
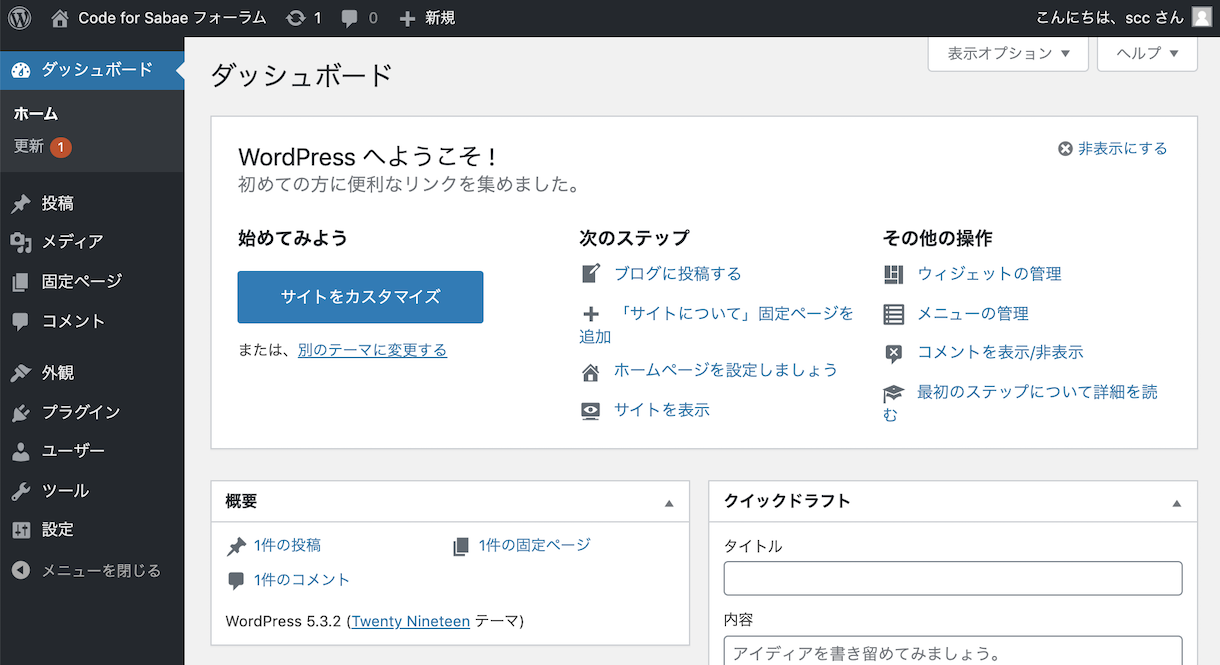
あとは https://forum.sabae.cc/ を開いて、WordPressの初期設定を行えば、完了です!

