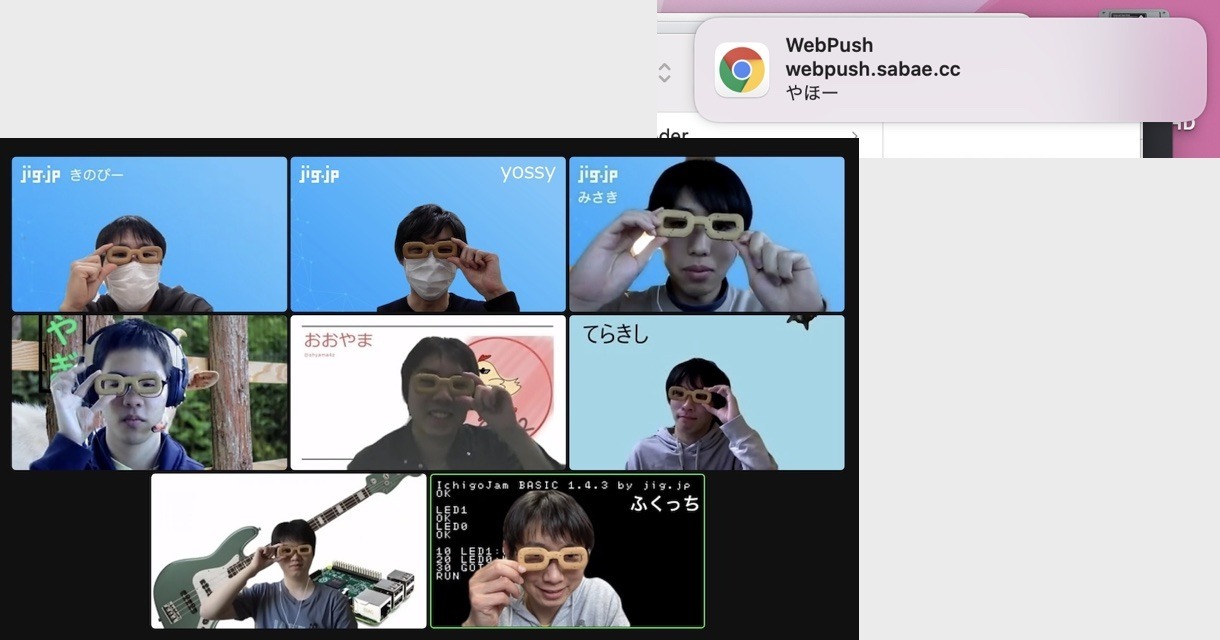
ようこそ!ウェルカムスピーチの後、アイスブレイク、自己紹介と共に持ち寄ったアイデアを披露しつつ、チームに分かれてビジョンを決めて、開発スタート。3日間のショートインターン、サクサク進めます。

今回のアイデアであると良さそうな技術は、通知。ブラウザのPush API(プッシュAPI)を使った通称WebPushの出番です。
ウェブで確認できる何かの変化を検知してプッシュするサービスを自前のサーバーを立てて動かすまでの手順がこちら。
1. ドメインを契約します(Value Domainなど)
2. サーバーを契約します(WebARENA Indigoだと月額
349円から!)
3. WebPush用のサブドメインを設定します(例, webpush.sabae.cc → 118.27.2.240)
4. サーバーにwebサーバーNGINX、Let's Encrypt、Deno、Node.jsをセットアップ
5. サーバーにログインし、ユーザー作成して適当にパスワード設定
adduser webpush chmod 755 /home/webpush passwd webpush
6. NGINXのサブドメイン用ファイルを作成(例、vi /etc/nginx/conf.d/webpush_sabae_cc.conf)
server { listen 80; server_name webpush.sabae.cc; location / { proxy_pass http://localhost:3004/; } }
7. NGINXを再起動して、Let's EncryptでSSL設定
nginx -s reload ./certbot-auto
8. GitHubからWebPushをクローンしてきて初期設定
cd /home/webpush su webpush git clone https://github.com/taisukef/webpush.git cd webpush npm i mkdir data echo 'your e-mail address @ your domain' > data/mailaddress.txt node push.mjs nohup deno run -A webpushserver.js &
9. ブラウザから設定したドメインにアクセスして通知設定(例、https://webpush.sabae.cc/)
10. サーバーで作成された data/subscription/ 内のファイル名になっている uuid をメモ
11. サーバーからプッシュしてみると、通知が届く!
node push.mjs xxxxxxxx-xxxx-xxxx-xxxx-xxxxxxxxxxxx test
12. アクセスしてエラーが起きたら通知が届くプログラム(例、vi checker.js)
import { push } from "./push_cmd.js"; const url = "https://somedomain.com/somepath/"; const subsc = "xxxxxxxx-xxxx-xxxx-xxxx-xxxxxxxxxxxx"; try { const res = await fetch(url); console.log(res.status); if (res.status == 200) { Deno.exit(0); } else { await push(subsc, "" + e.status); } } catch (e) { await push(subsc, "" + e); } Deno.exit(1);
13. 定期的にチェックするシェルスクリプト(例、vi loopcheck.sh)
while true do deno run -A checker.js sleep 60 done
PC、Mac、Androidで通知が受け取れます!iOSでも近々実装されるかも??
(参考、iOS版Safariがプッシュ通知をサポートするかも – 海外SEO情報ブログ)
いろいろ活用しましょう!


