The first step of Web of Things is also blinking a LED (エルチカ@ja).
4GエルチカWoT on IchigoJam
Taisuke Fukunoさんの投稿 2017年3月14日
1. Prepare hardwares
- Sakura's IoT module beta - Sakura's IoT Platform
- Break out board - Sakura's IoT Platform
- IchigoJam T - IchigoJam - with 1.2b42 firmware (beta download from Facebook Group)
- I2C level converter - PCA9306 - Akizuki Denshi
- some jumper wires
2. Regist the Sakura's IoT module
Make a project and a WebSocket service.
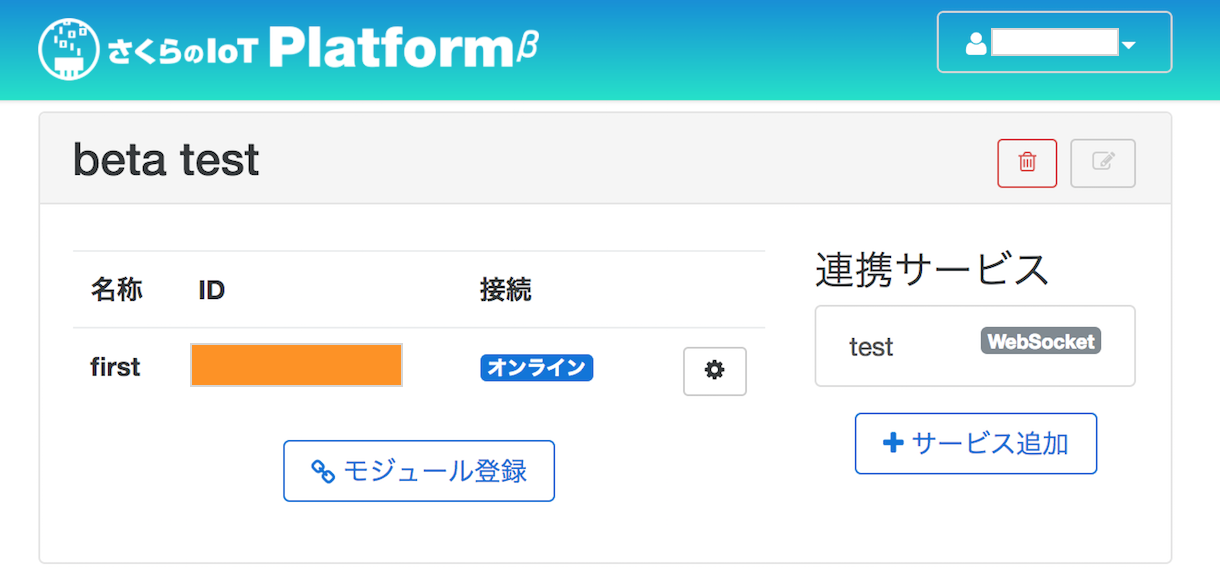
* Orange is module ID
3. Connect them
The signal voltage of Sakura's IoT module is 1.8V but IchigoJam is 3.3V.
So you have to change the voltage by PCA9306.
Cut a VCCB(right-top) pin and connect yellow wire (1.8V LOD_OUT of Sakura's IoT module) above.
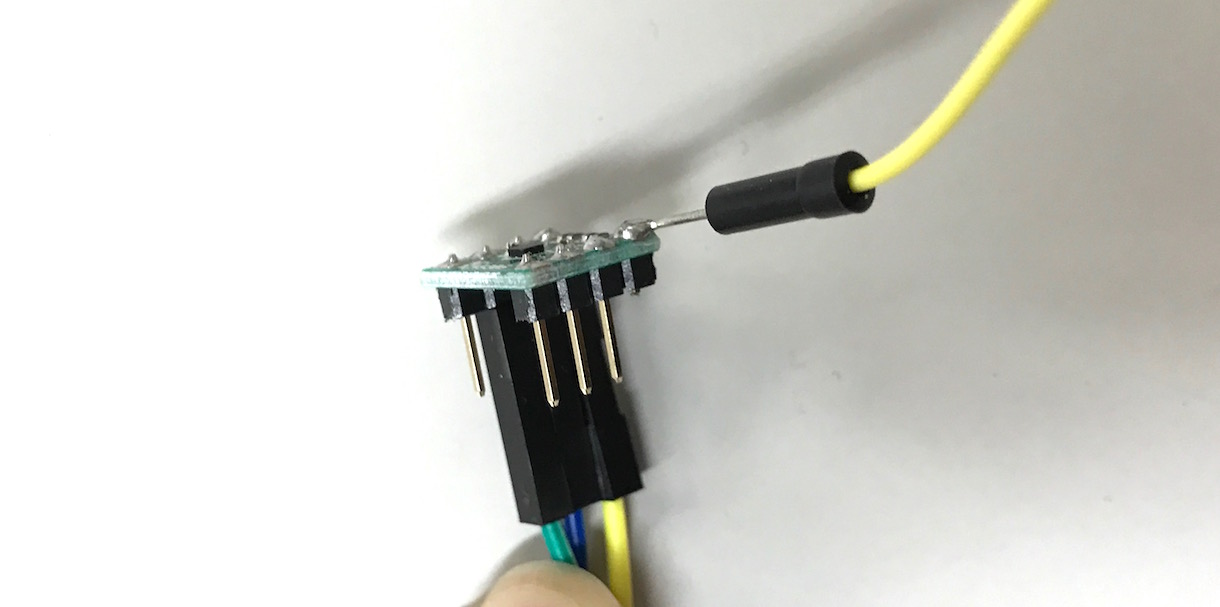
Put the PCA9306 on the right of the Sakura's IoT Module.
Yellow : VCCA(left-top) - 3.3V on IchigoJam
Blue: SDA(left-middle) - SDA on IchigoJam
Green: SCL(left-middle) - SCL on IchigoJam
Orange: right-top of the Sakura's IoT Modlue - 5V on IchigoJam
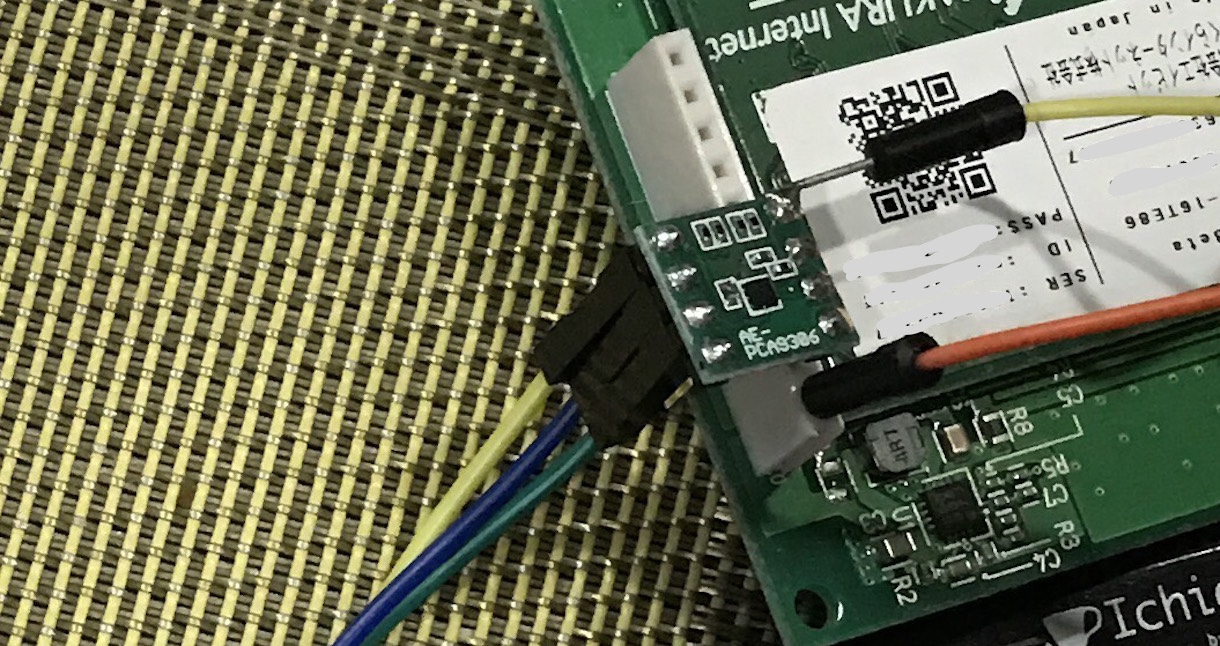
VCCB(1.8V) - LOD_OUT(left of the Sakura's IoT Module) (Yellow)
GND(left of the Sakura's IoT Module) - GND on IchigoJam
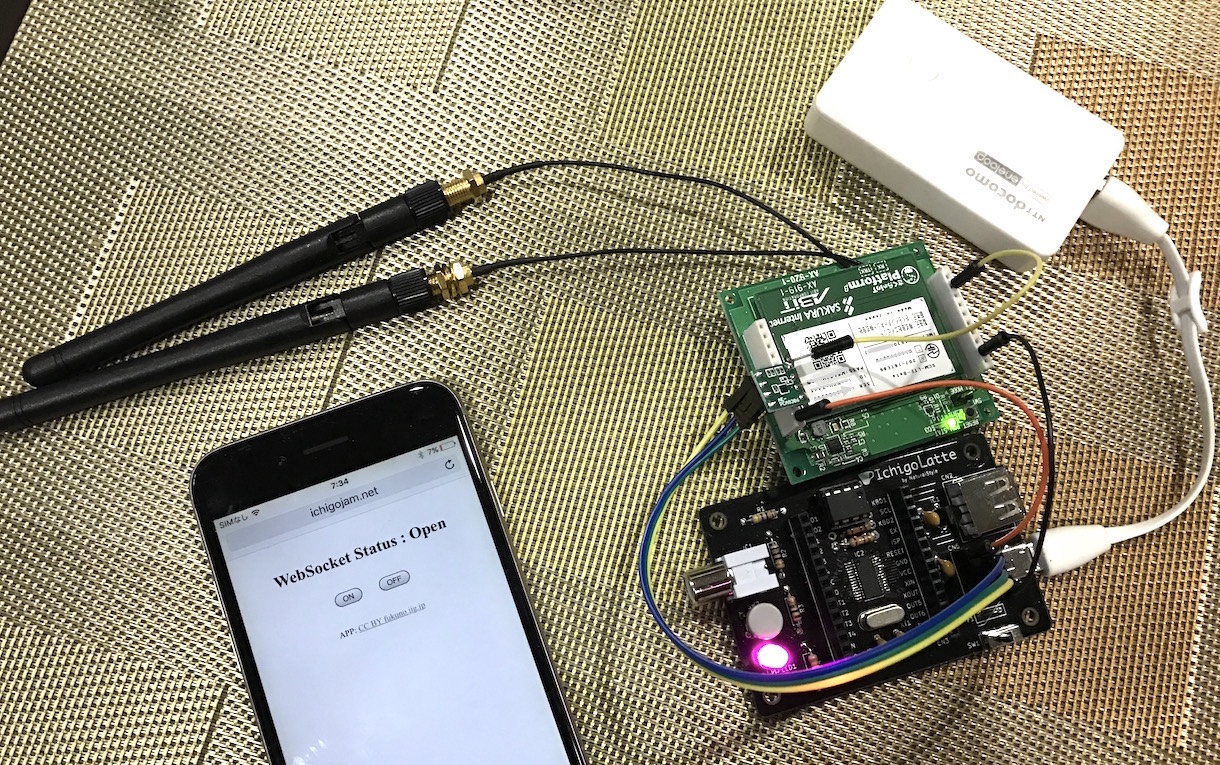
* Connect WAKE_IN to 1.8V or 3.3V as pull up for the v1.2 firmware (added 2017.6.22)
こちらがブレイクアウトボードのピン配置。IchigoJamとつないでの実験、楽しみです!
And turn your IchigoJam on!
Wait a moment until single blinking the LED on the Sakura's IoT Module.
4. Send from the IchigoJam
Open the WebSocket service.
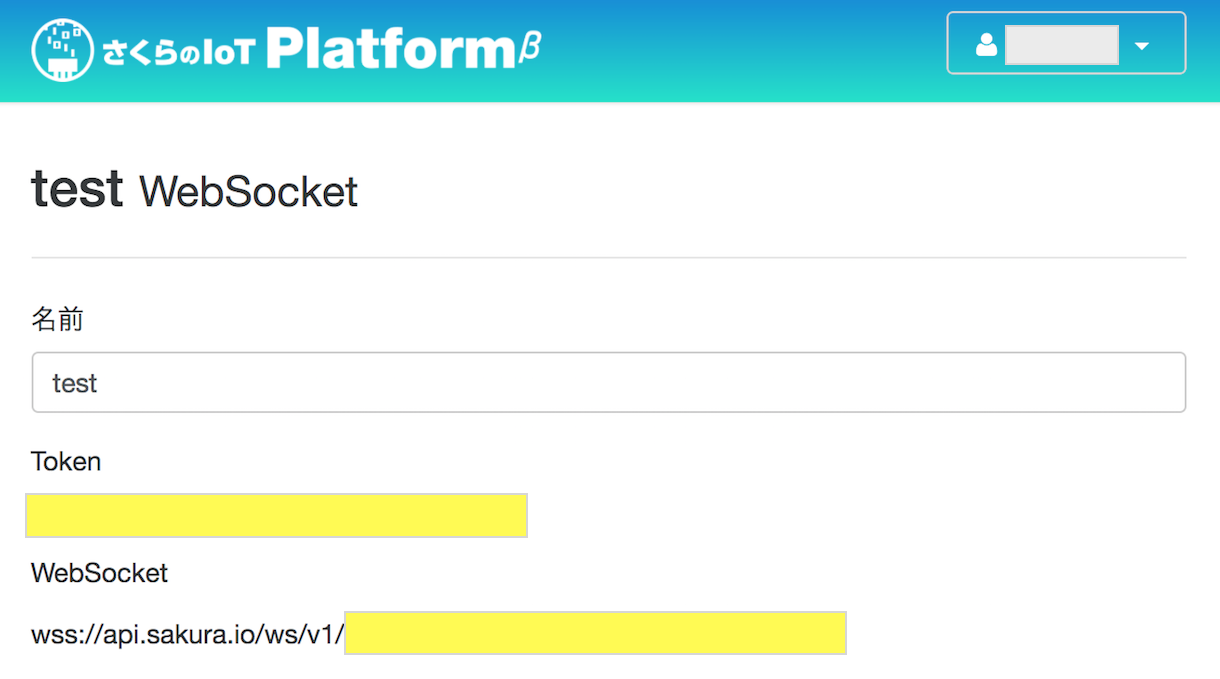
* Yellow is Token to access
Write this program to access Sakura's IoT Module. (beta needs checksum, so a little long code)
900 @I2C 910 M=PEEK(#701)+2 920 C=0:FOR I=0 TO M-1:C=C^PEEK(#700+I):NEXT:POKE#700+M,C 930 IF I2CR(79,#700,M+1,#780,N+1) STOP 940 C=0:FOR I=0 TO N-1:M=PEEK(#780+I):C=C^M:?M;" ";:NEXT:? 950 IF C!=PEEK(#780+N) OR PEEK(#780)!=1 STOP 960 RTN
And try this code to test! If you'll get "1 1 0" or "1 1 128" it's success!
POKE#700,1,0:N=3:GSB@I2C 1 1 0 OK
Wait until you will get "1 1 128". (0:4G no connections, 128:4G connected)
To put a data into the queue
C=1:A=123 POKE#700,#20,10,C,73,A,A>>8,0,0,0,0,0,0:N=2:GSB@I2C
To send data
POKE#700,#24,0:N=2:GSB@I2C
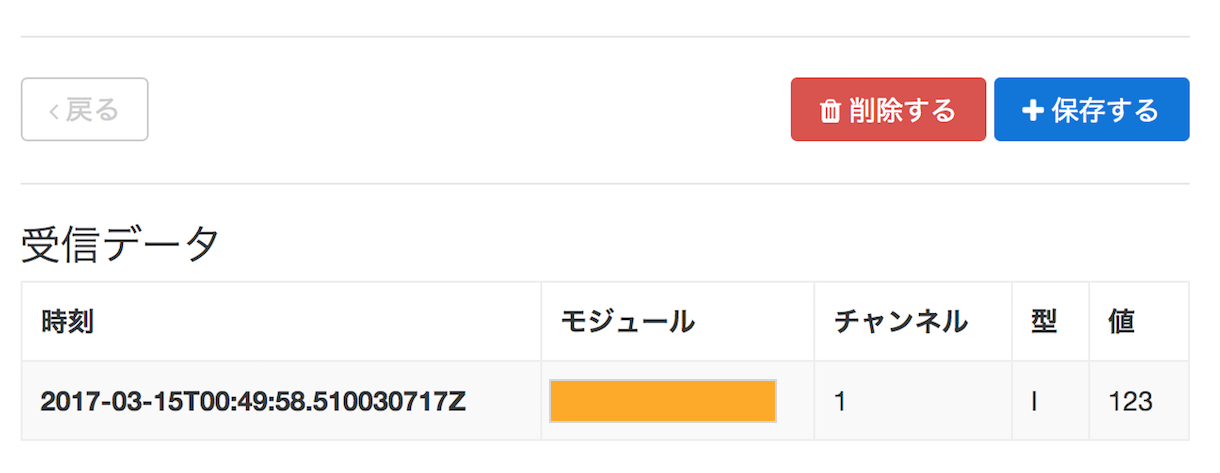
You will get your data on the control panel.
5. Recieve from the web
Download the program in JavaScript from lchika@GitHub.
Rename the "sakura-setting-rename.js" to "sakura-setting.js".
Edit a name of module and a token on the "sakura-setting.js". (Abobe Orange and Yellow on your Sakura control panel)
This is a code to get the count of the receive queue.
POKE#700,#32,0:N=4:GSB@I2C:?PEEK(#783)
Open "index.html" on your browser and touch the "ON" button.
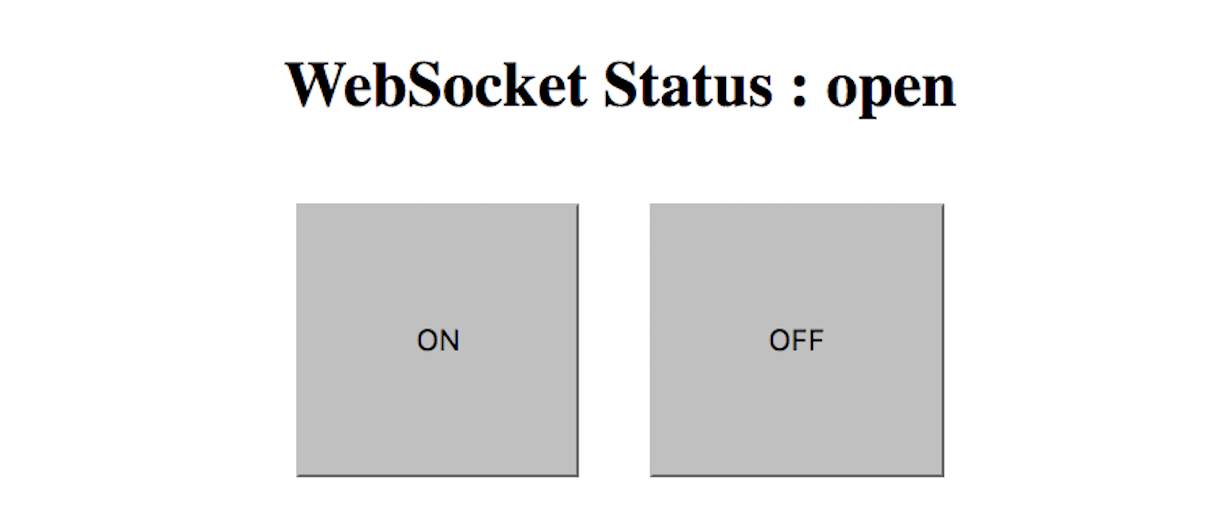
You get "1" as receive queue count.
POKE#700,#32,0:N=4:GSB@I2C:?PEEK(#783)
And you get a data!
POKE#700,#30,0:N=#14:GSB@I2C:?PEEK(#784)
6. Program WoT blinking a LED in BASIC!
1 'SAKURA's IoT beta recv test 100 @LOOP 110 GSB @CHK:IF N=0 WAIT 30:CONT 120 GSB @GET:?"RECV:";N:LED N 130 GOTO @LOOP 800 'IoT Lib 810 @CHK:POKE#700,#32,0:N=4:GSB@I2C:N=PEEK(#783):RTN 820 @GET:POKE#700,#30,0:N=#14:GSB@I2C:N=PEEK(#784):RTN 900 @I2C:'use M,C,I 910 M=PEEK(#701)+2 920 C=0:FOR I=0 TO M-1:C=C^PEEK(#700+I):NEXT:POKE#700+M,C 930 IF I2CR(79,#700,M+1,#780,N+1) STOP 940 C=0:FOR I=0 TO N-1:M=PEEK(#780+I):C=C^M:?M;" ";:NEXT:? 950 IF C!=PEEK(#780+N) OR PEEK(#780)!=1 STOP 960 RTN
Try to make your original WoT!
 Fri Night