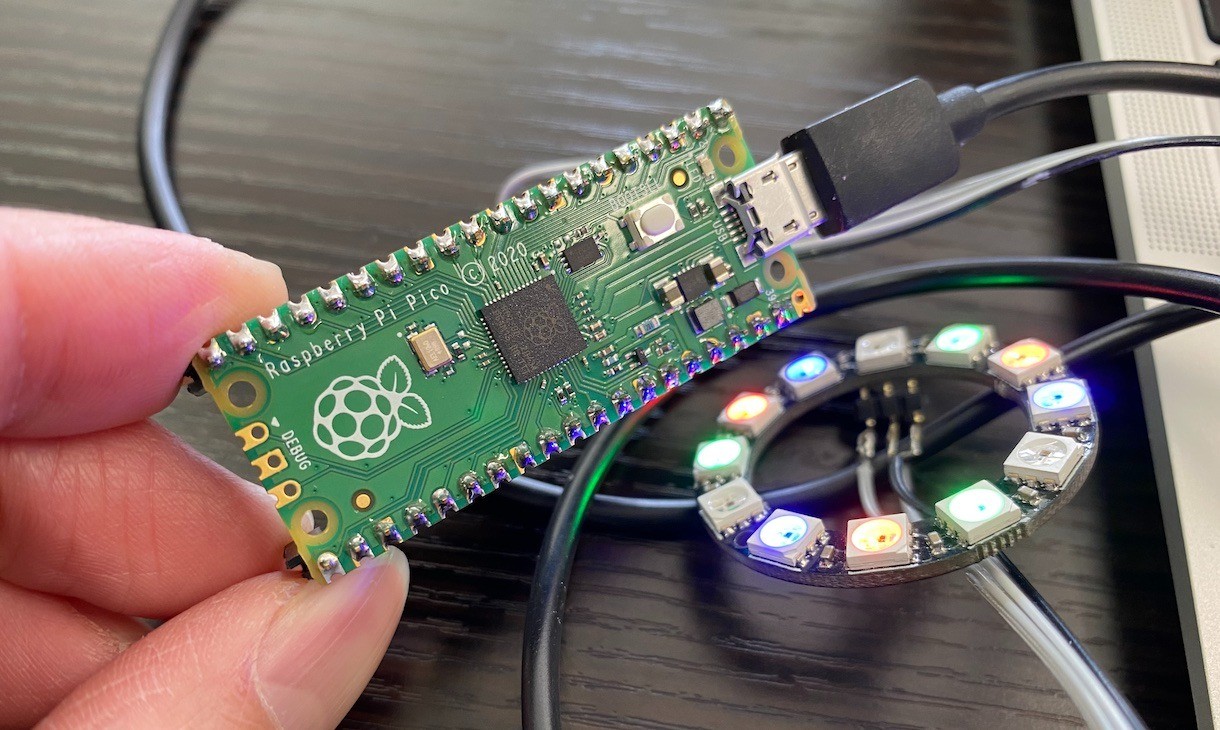
Arm Cortex-M0+を2つ搭載、更にプログラマブルな入出力「PIO」として、ミニミニコンピューターが8つ搭載! 合計10コアを使ったプログラミングが楽しめます。
まずは、MicroPythonを使ったお手軽開発
1. Raspberry Pi Pico をUSBで接続するとUSBメモリ的に認識します(二回目以降はBOOTSELを押しながら差し込み)
2. MicroPythonファームをコピー
3. CoolTermなどで、シリアル接続(115200bps/RTS off/DTR on/local echo off)
4. MicroPythonでプログラム!(LEDをON、OFF)
from machine import Pin led = Pin(25, Pin.OUT) led.value(1) led.value(0)
5. ミニミニコンピューターもPIO向けインラインアセンブリ言語(マシン語の元)を使って開発可能!
長いプログラムは、Ctrl−E を押してからペーストして、Ctrl-D で終了。

フルカラーLED、WS2812Bもこの通り!(sample src on GitHub)
次に、Picoのフルパワーを活用するC/C++での開発。環境構築からエルチカバイナリ生成まで on mac。
brew install cmake brew tap ArmMbed/homebrew-formulae brew install arm-none-eabi-gcc cd ~/ mkdir pico cd pico git clone -b master https://github.com/raspberrypi/pico-sdk.git cd pico-sdk git submodule update --init cd .. git clone -b master https://github.com/raspberrypi/pico-examples.git cd pico-examples mkdir build cd build export PICO_SDK_PATH=../../pico-sdk cmake .. cd blink make
blink.uf2ファイルをBOOTSELボタンを押しながら挿し認識した RPI-PI2 にコピーすればOK!
詳細は、公式ドキュメント「Getting started with Raspberry Pi Pico」をどうぞ!
新しいコンピューター、ワクワクしますね!

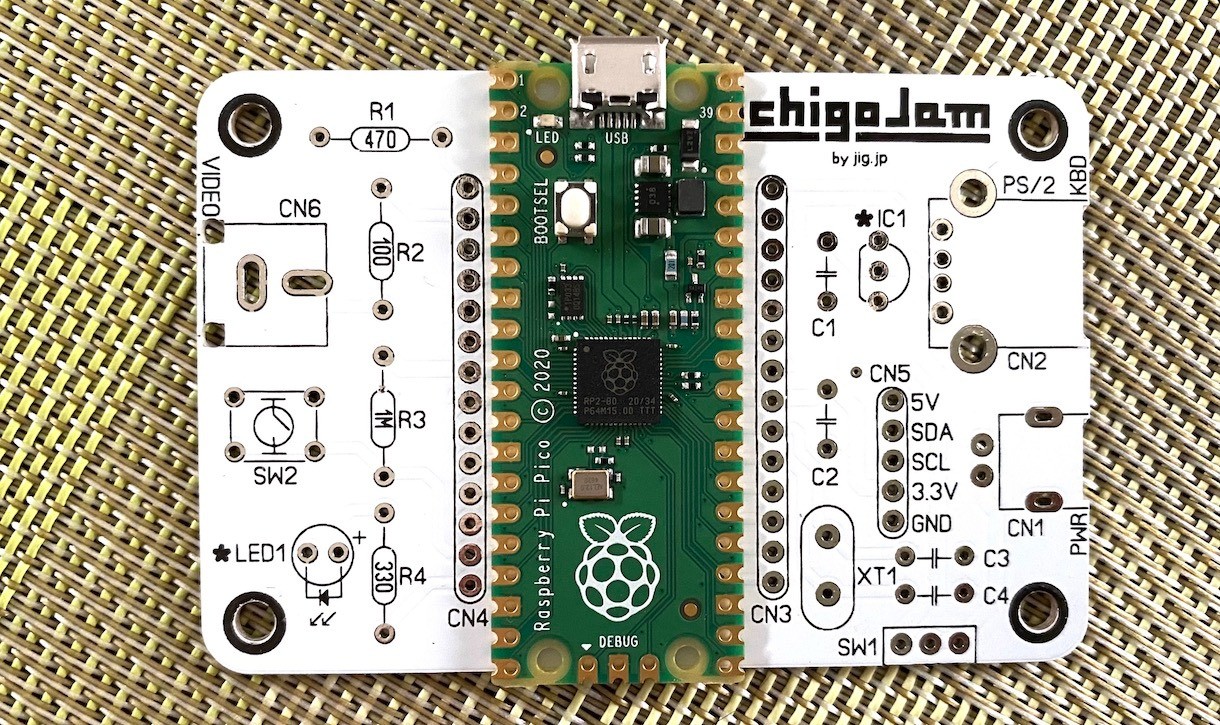
IchigoJamの基板の上に載せてみました。
The IchigoJam on Raspbery Pi Pico project started!
Thank-you for the mention! We (@kristopher @yrm__ ) were inspired by the Pico and are working on a version of IchigoJam BASIC for our Pico friends.
— 福野泰介 (@taisukef) February 4, 2021

