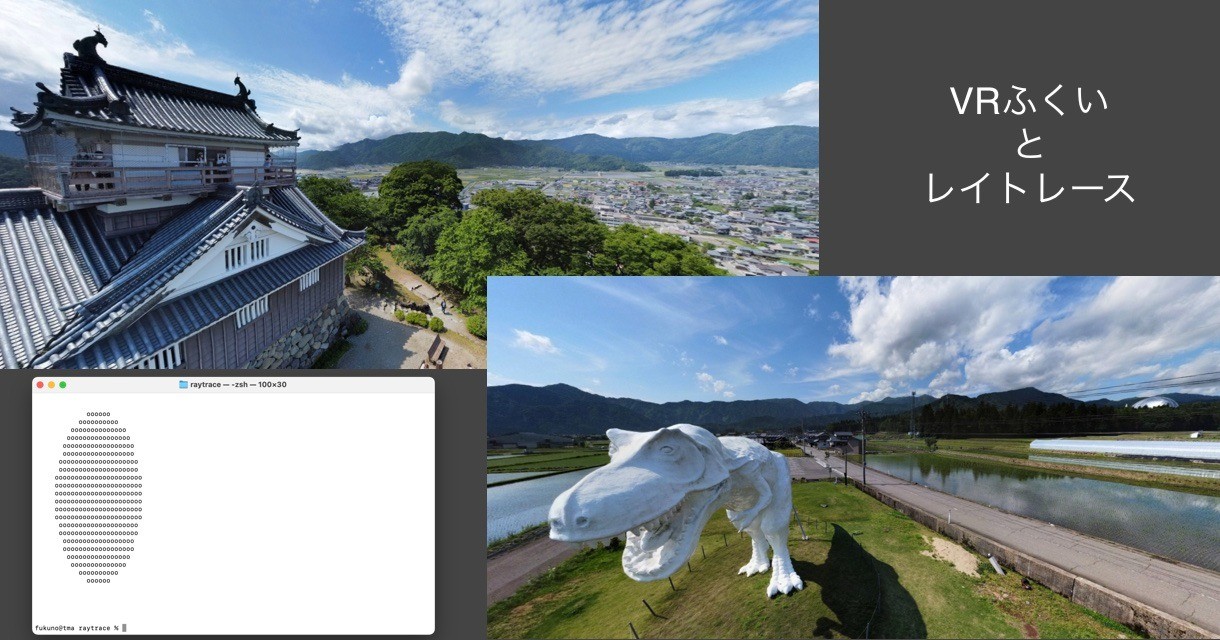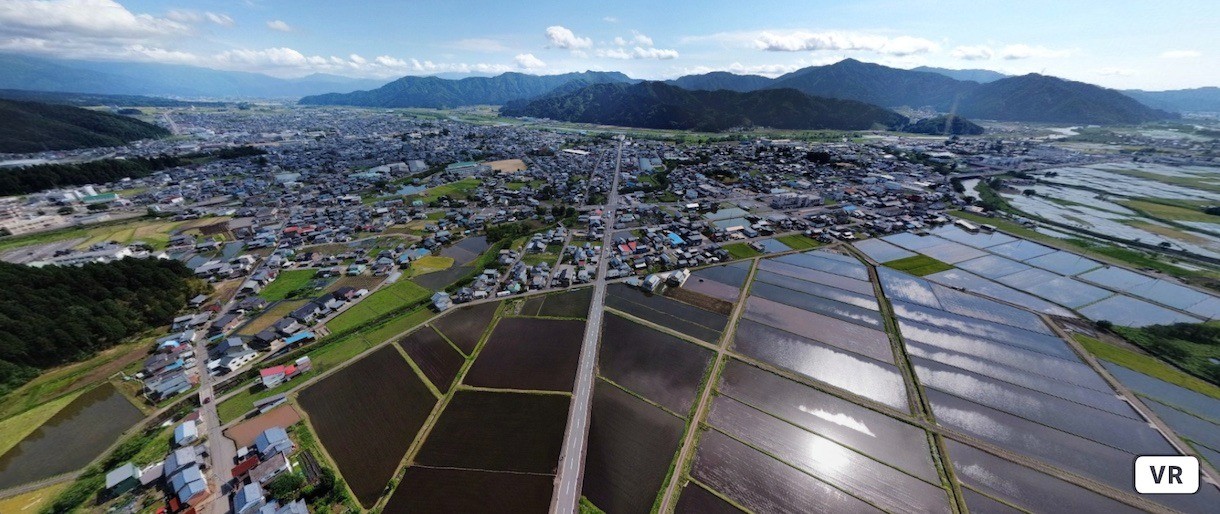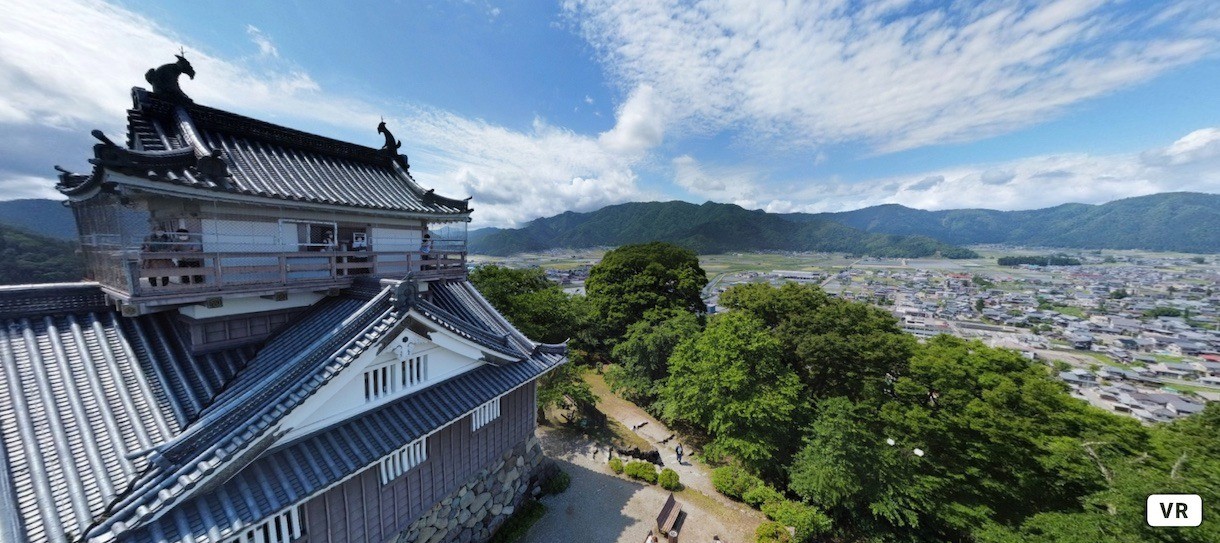
「大野城 - VRふくい」
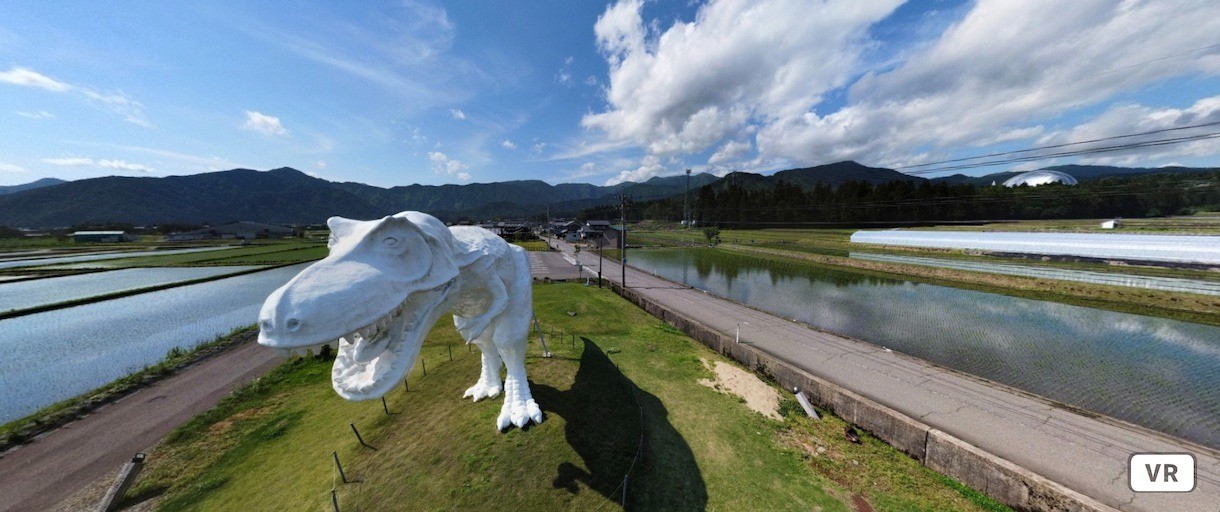
「ホワイトサウルス - VRふくい」
勝山市、恐竜博物館への道途中に居る、二代目ホワイトサウルス
(参考、福井・勝山の恐竜モニュメント、頭部落下 原因不明・突然の出来事で「骨格」あらわに - 福井経済新聞)
本当の目的は、ドローンで撮影したVRではなく、航空写真のように地図にすること。
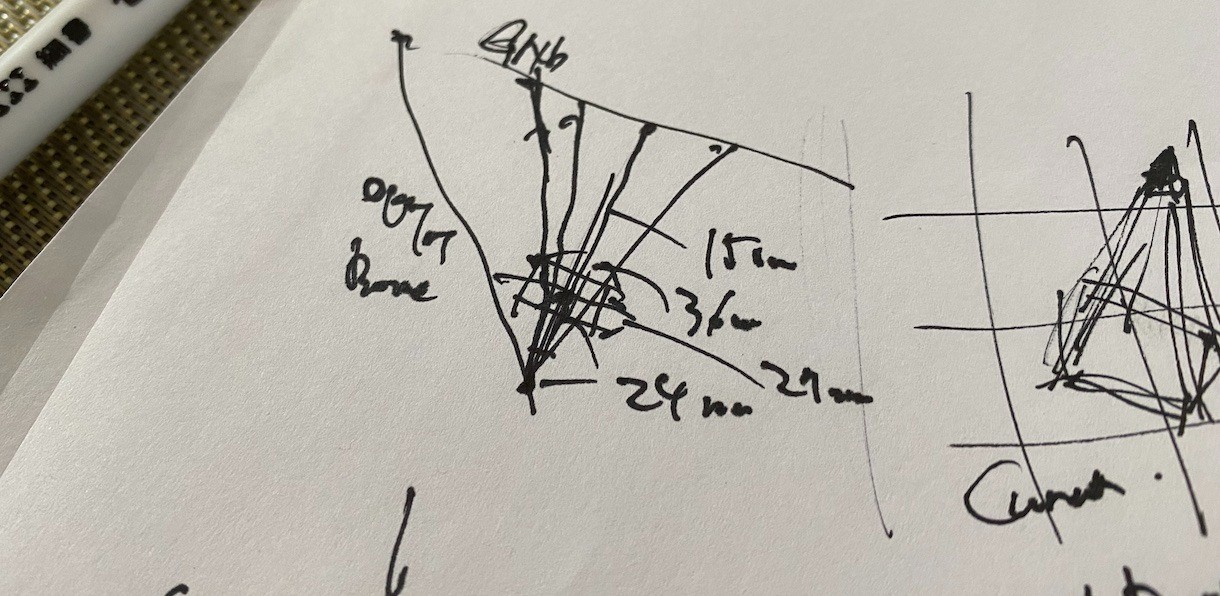
焦点距離と写真に残る撮影角度情報から地面との交点をレンダリングすればいけそう。この手のロジックを考えるときは手書きが便利。
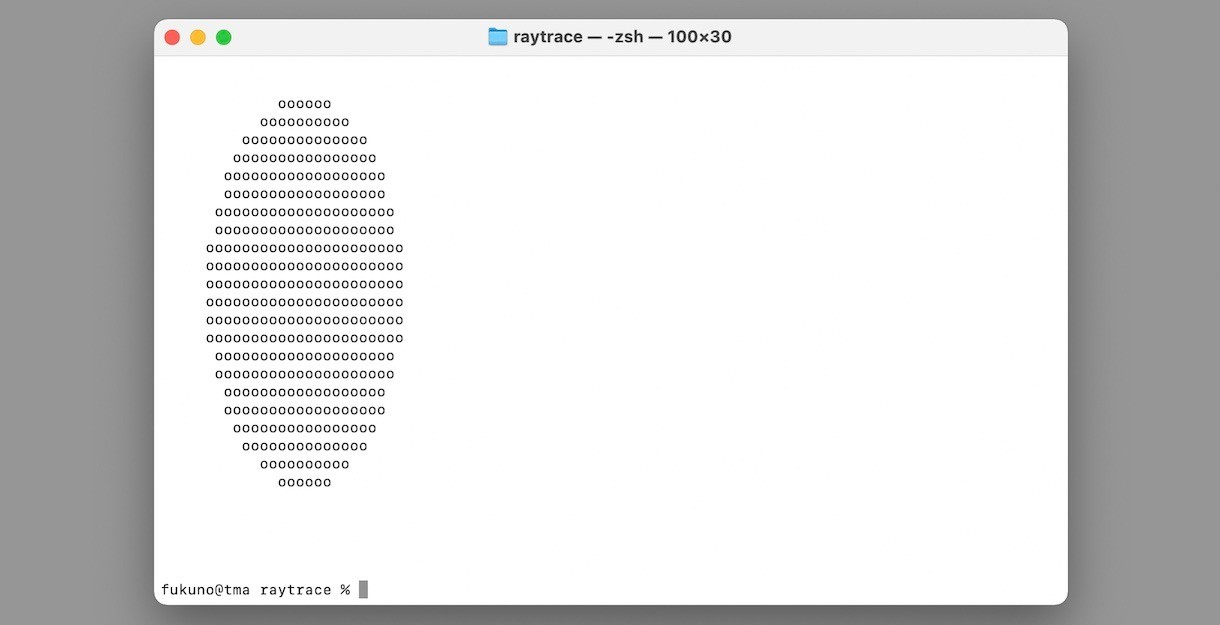
Denoがあればコンソールだけでレイトレースの開発可能です。
東京電機大学 工学部第二部情報通信工学実験 グラフィックス応用テキスト「第1回 | The Textbook of RayTracing @TDU」を参考に実装。
三次元ベクトルの計算にThree.jsのESモジュールを使いました。
raytrace1.js のメインコードはこんな感じ
for (let y = 0; y < height; y++) { pw.y = -2 * y / (height - 1) + 1.0; for (let x = 0; x < width; x++) { pw.x = 2 * x / (width - 1) - 1.0; const direye = new THREE.Vector3(); direye.subVectors(pw, peye); const t = direye.sub(psphere); const a = Math.pow(t.length(), 2); const b = 2 * t.dot(psphere); const c = Math.pow(psphere.length(), 2) - Math.pow(rsphere, 2); const d = b * b - 4 * a * c; let col = 0; if (d >= 0) { col = 200 << 16; } else { col = 0; } // } }
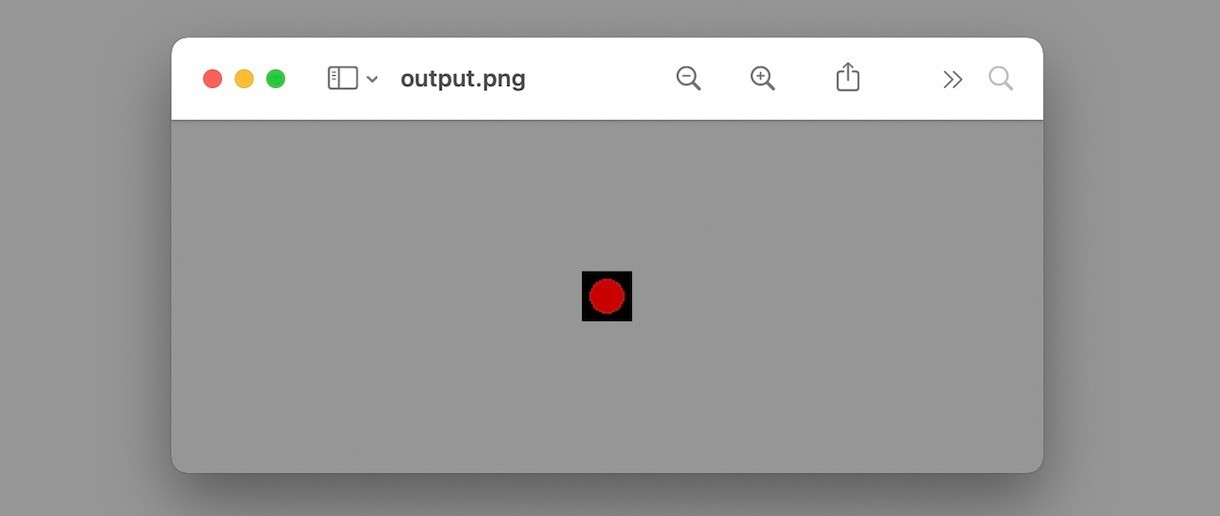
レイトレースと言えば、現実と見紛う美しい画像が特徴。コンソールだけでなく、画像でも見たくなるので、ひとまずPNGエンコーダーをES化して使ってみました。(PNG.js src on GitHub)
Uint8Arrayで1ピクセルをRGBAの4byteで表現するバイナリ形式にしたデータを用意し、PNG.encode でok! Denoやブラウザで簡単に使えます。
import { PNG } from "https://taisukef.github.io/PNG/PNG.js"; const img = new Uint8Array(4); img[0] = 0xff; img[3] = 0xff; console.log(img); const bin = PNG.encode(img, 1, 1); console.log(bin, typeof bin); await Deno.writeFile("test.png", bin);
「imaya/CanvasTool.PngEncoder: JavaScript Canvas PNG Encoder」を元にしています。 Zlibのdeflateとcrc32が必要になったので、zlib.jsのESモジュールに追加。
オープンソースに感謝!
