MSX向けソフトウェアの開発サイクルを速くするために超軽量エミュレータを合わせて作っていきます。
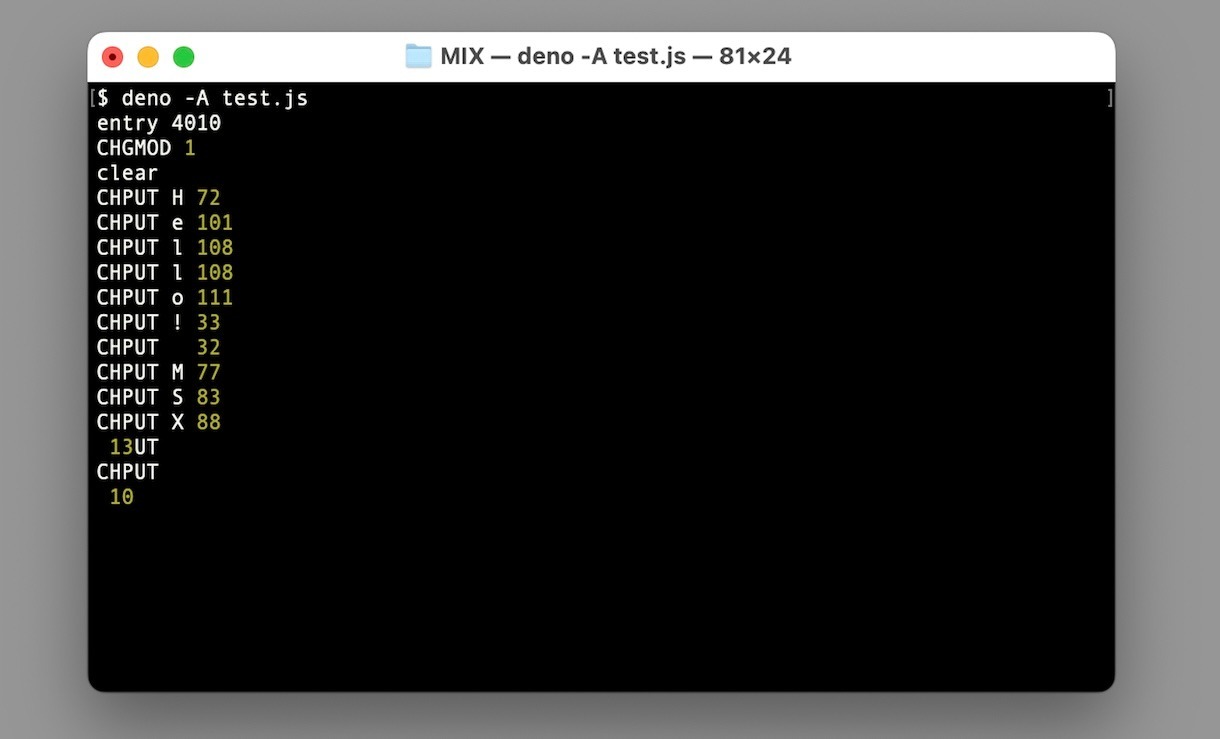
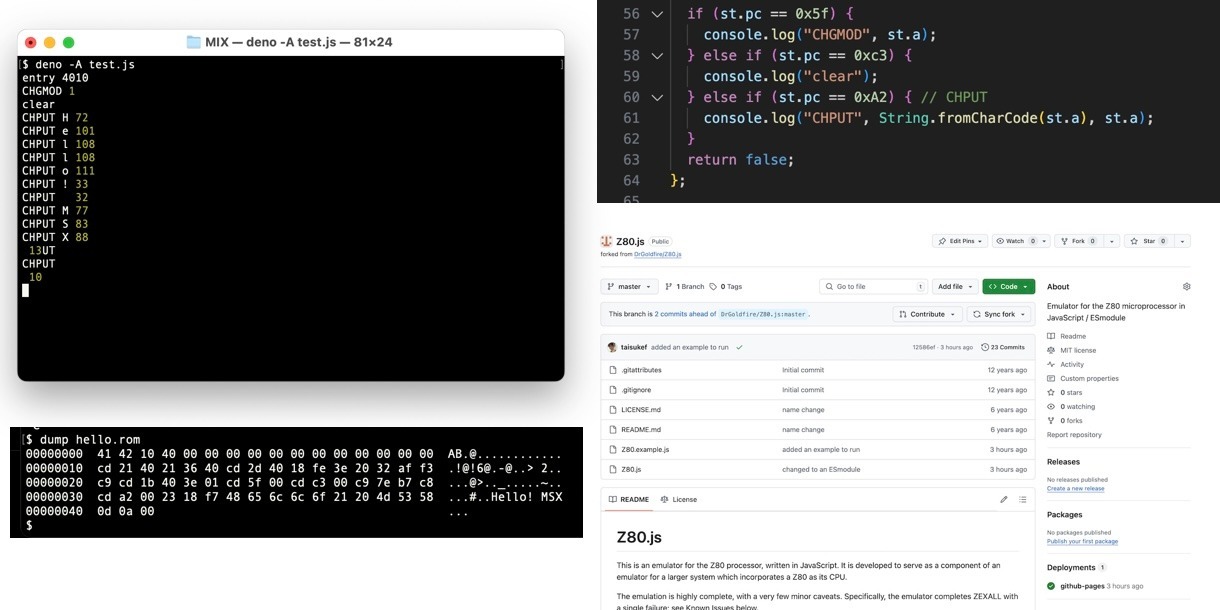
MITライセンスのオープンソース実装「Z80.js」を発見、ESモジュール化して、メモリとBIOSの一部をつなげるテストプログラム「test.js」を書き「Hello World」に成功!
下記のように、MSXのBIOSレベルでエミュレートする作戦です
const bios = (st) => {
/*
BIOS emulate
0x005F CHGMOD - スクリーンモード切替
0x00C3 CLS - 画面全体をクリア
0x00A2 BIOSの CHPUT
0x00D5 INKEY ; ret a: 1=up, 2=right up, 3=right, 4=right down, 5=down, 6=left down, 7=left, 8=left up
0x00C6 POSIT locate: ; H: x, L: y
0x004A RDVRM HL - Address read, ret a
*/
if (st.pc == 0x5f) {
console.log("CHGMOD", st.a);
} else if (st.pc == 0xc3) {
console.log("clear");
} else if (st.pc == 0xA2) { // CHPUT
console.log("CHPUT", String.fromCharCode(st.a), st.a);
}
return false;
};
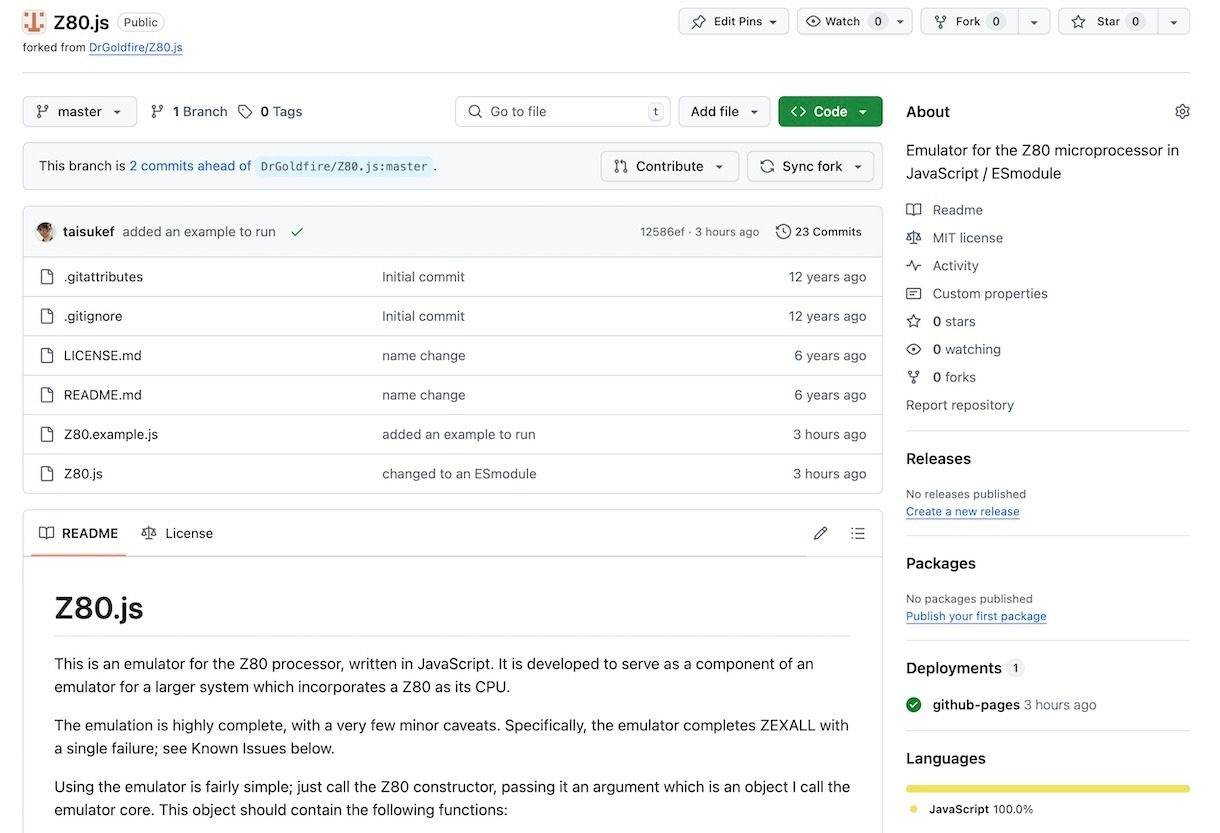
「IchigoJam/Z80.js: Emulator for the Z80 microprocessor in JavaScript / ESmodule」
Z80.jsは、Z80という1976年生まれコンピューターのJavaScriptで作られたエミュレーター。下記のようにメモリをセットして動かします。
import { Z80 } from "./Z80.js";
const mem = new Array(64 * 1024);
mem[0] = 0x3C; // INC A
mem[1] = 0x76; // HALT
const z80 = new Z80({
mem_read: (address) => {
console.log("mem_read", address.toString(16));
return mem[address];
},
mem_write: (address, value) => {
console.log("mem_write", address.toString(16), value);
mem[address] = value;
},
io_read: (port) => {
console.log("io read", port);
return 0;
},
io_write: (port, value) => {
console.log("io write", port, value);
},
});
console.log(z80);
console.log(z80.getState());
z80.reset();
console.log(z80.run_instruction());
console.log(z80.run_instruction());
console.log(z80.run_instruction());
console.log(z80.run_instruction());
console.log(z80.getState());
Z80.example.js
deno -A https://ichigojam.github.io/Z80.js/Z80.example.js
Denoですぐ動かせます!


